⬅ Course Home | Next: Module ➡

Proper Entries & Exits
1. What This Module Is About
Proper entries and exits in trading become much easier once you understand the foundations that come before execution. By this point, you already understand two of the most important pillars of trading. From Market Structure (Module 2), you learned how price moves, how trends form, and how to identify key areas like support, resistance, and zones of interest. From Risk Management (Module 3), you learned how to protect your account through proper position sizing, stop losses, and disciplined risk control. Together, these skills allow you to approach every trade with a clear execution plan instead of guessing.
Now we answer: “Exactly where do I enter, and where do I exit?”
In this module, we’ll keep it simple with one core setup: Trend pullback entry with clear structure + confirmation candle.
2. Your Core Entry Setup (Trend Pullback)
We only want to trade with the trend.
1. Confirm the trend
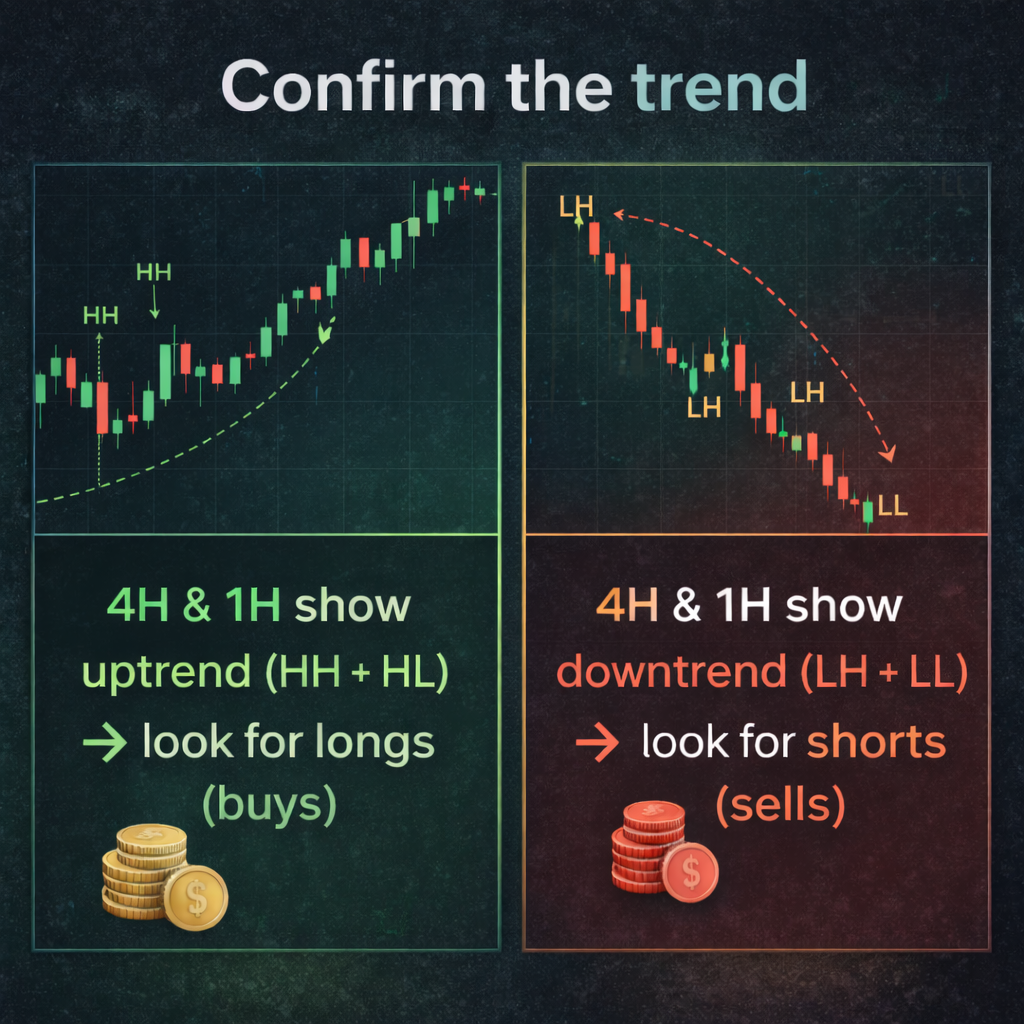
2. Wait for a pullback into a key area
For buys in an uptrend Price pulls back into:
For sells in a downtrend price pulls back into:
📌 No level → no trade.
We only enter at structure, not in the middle of nowhere.
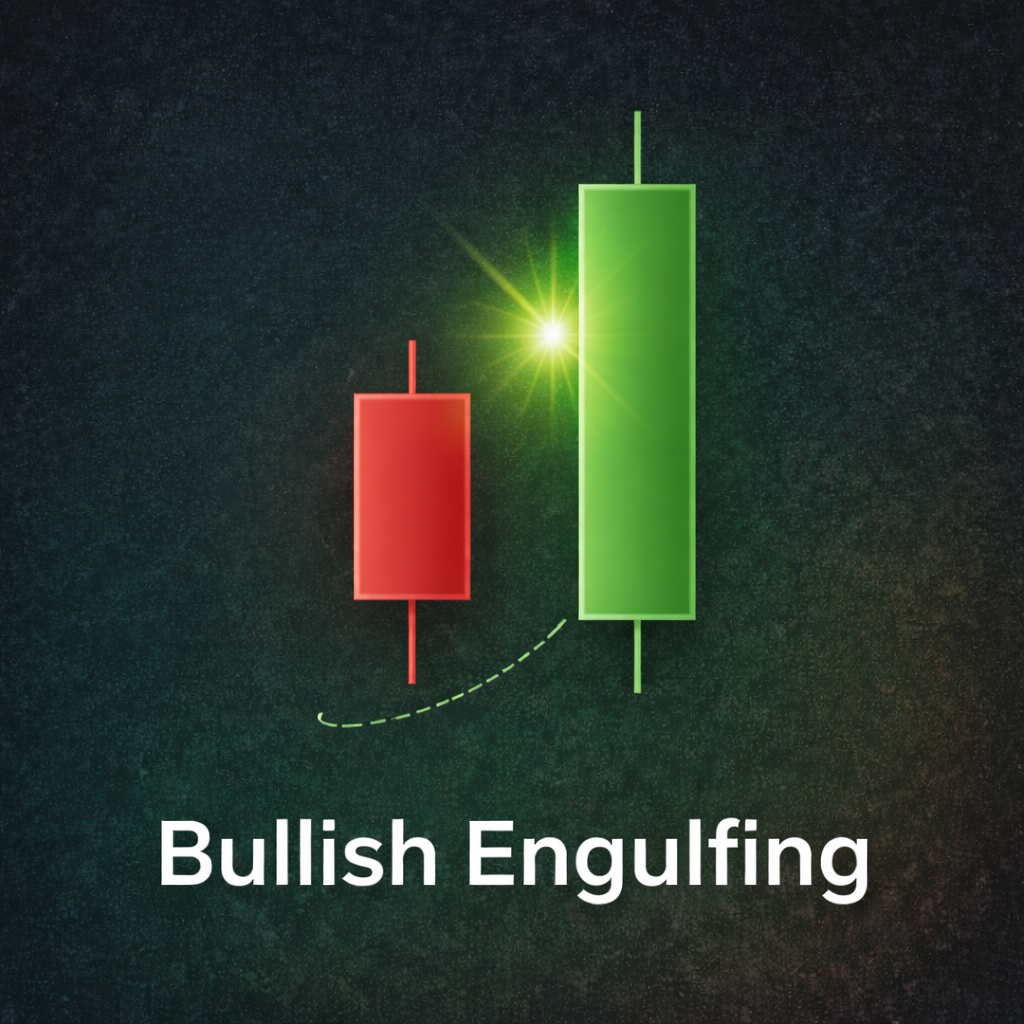
Bullish Englulfing Candle

Rejection wick from support
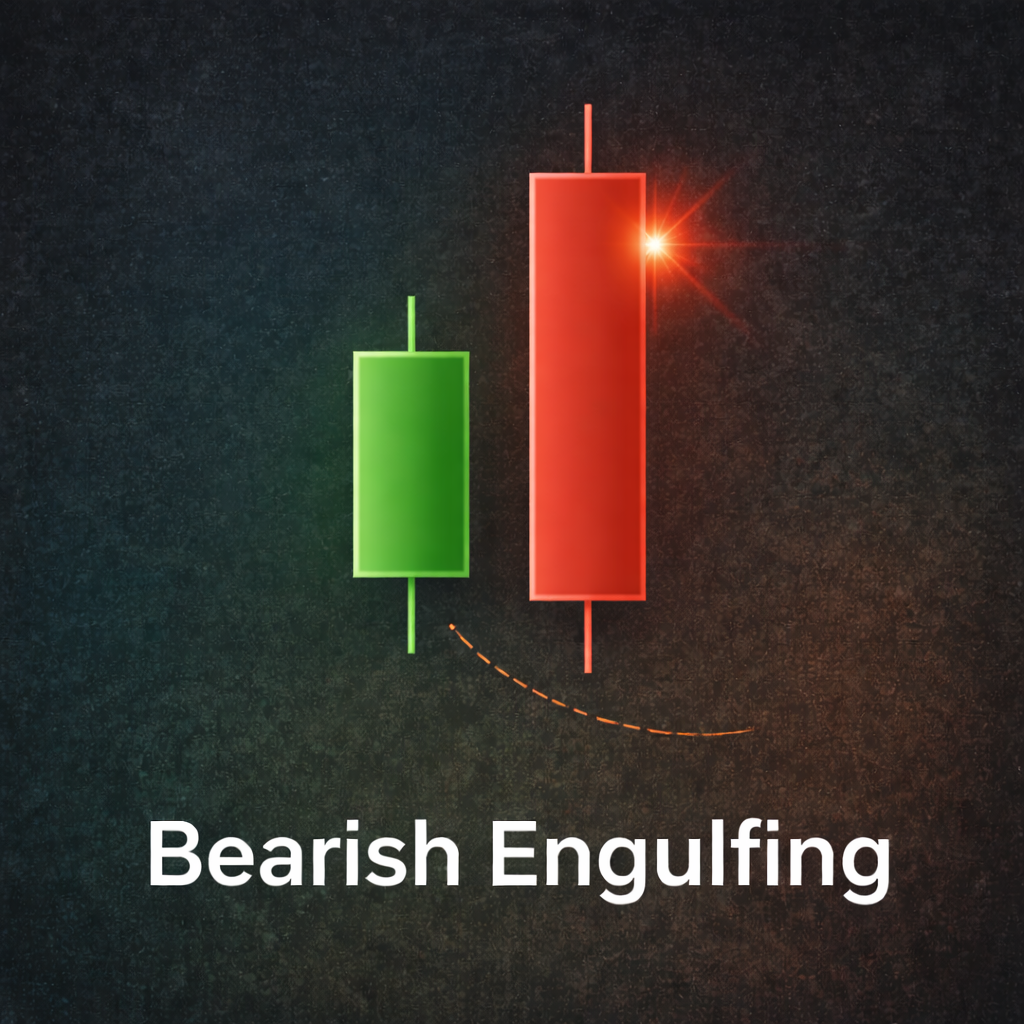
Bearish Englulfing Candle
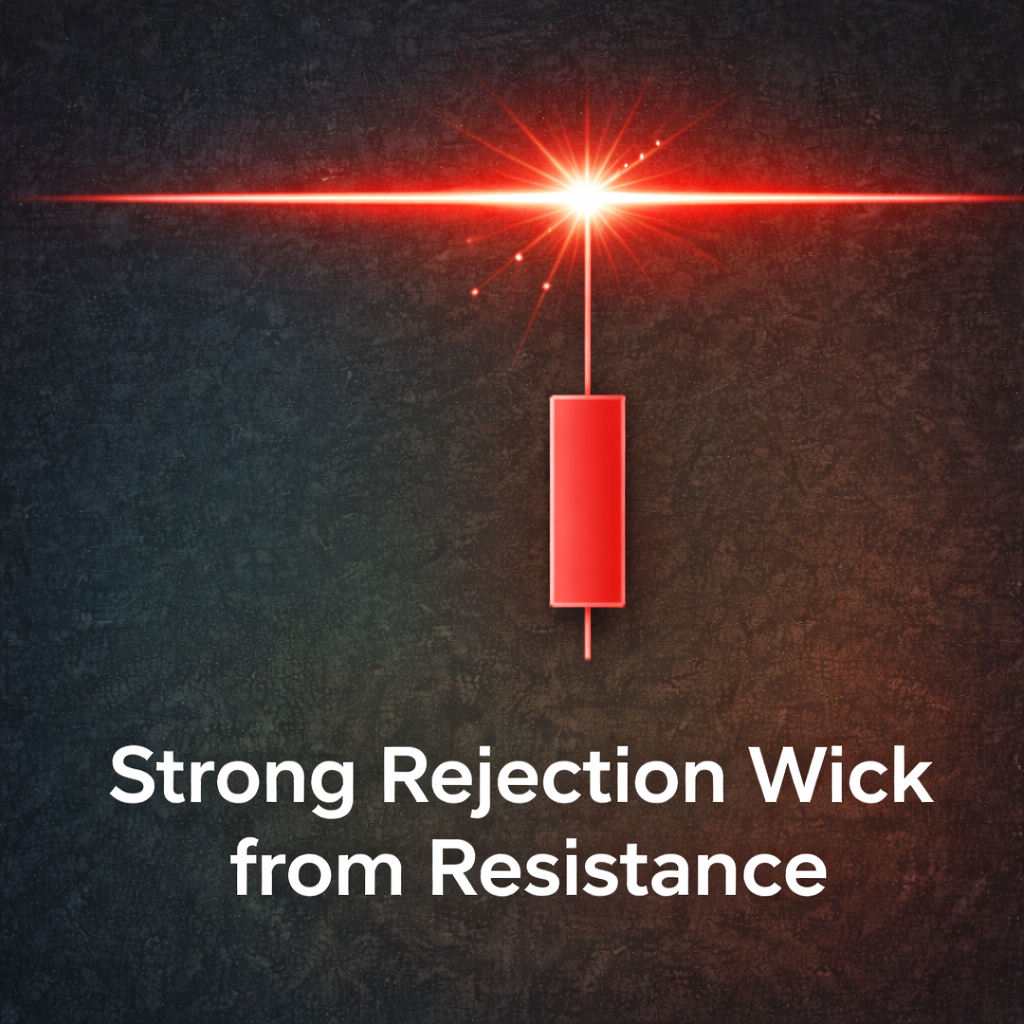
Rejection wick from resistance
3. Look for a confirmation candle on 15m
For buys:
For sells :
⚠️ You do NOT enter mid-pullback. You wait for the market to show you it respects the level.
3. Where to Place Your Stop Loss
Your stop loss goes beyond the level that should hold.

Rules:
📌 Remember: Stop = “Where the setup is invalid. The idea is wrong.”
4. Take Profit Targets (R-Multiples)
To keep it simple, we’ll use R-multiples:
For this course:
Then you journal the result.
5. Trade Management Rules
To avoid emotional mistakes:
- Price has moved at least 1R in your favor
- Or the structure supports it (e.g., a new higher low forms for a long)
📌 No scalping / no random exits. We exit at:
- Our stop, or
- Our target, or
- When structure clearly shifts against us.
6. Entry Checklist (Before Every Trade)
Ask yourself:
If any answer is NO → skip the trade. Skipping bad setups is a win.
7. Example Flow of a Good Trade
When both the 4H and 1H timeframes are in an uptrend, your bias remains bullish and you only look for buying opportunities. Price eventually pulls back into a prior support zone, an area where buyers have previously shown strength. You then wait patiently for confirmation.
On the 15-minute chart, a strong bullish candle forms and clearly rejects the support level, showing that buyers are stepping back in. This candle becomes your trigger.
You place your entry slightly above the high of the confirmation candle, your stop-loss just below the support zone, and your target at 2R, ensuring a favorable risk-to-reward ratio.
Once the trade is triggered, you do nothing. There is no panic, no micromanaging, and no emotional decision-making. The trade will either:
Both outcomes are acceptable because the risk was defined in advance and the trade followed a clear, repeatable process.
8. Homework Before Module 5
On TradingView (paper trading):
Write in your journal:
This builds your eye for clean setups, not random ones.
Beginner Trading Insights

The Complete Beginner Trading System: Rules, Risk, Psychology & Execution
The Complete Beginner Trading System: Rules, Risk, Psychology & Execution Why Most Beginner Traders Lose…

Overtrading & FOMO: The Silent Account Killers for Traders
Overtrading & FOMO: The Silent Account Killers for Traders Many traders don’t lose money because…

Can You Make $1,000 Per Day Trading? The Honest Truth
Can You Make $1,000 Per Day Trading? The Honest Truth Can you make 1000 per…

Trading Psychology: Why Discipline Matters More Than Strategy
Trading Psychology: Why Discipline Matters More Than Strategy Most beginner traders believe success comes from…
⬅ Course Home | Next: Module ➡